
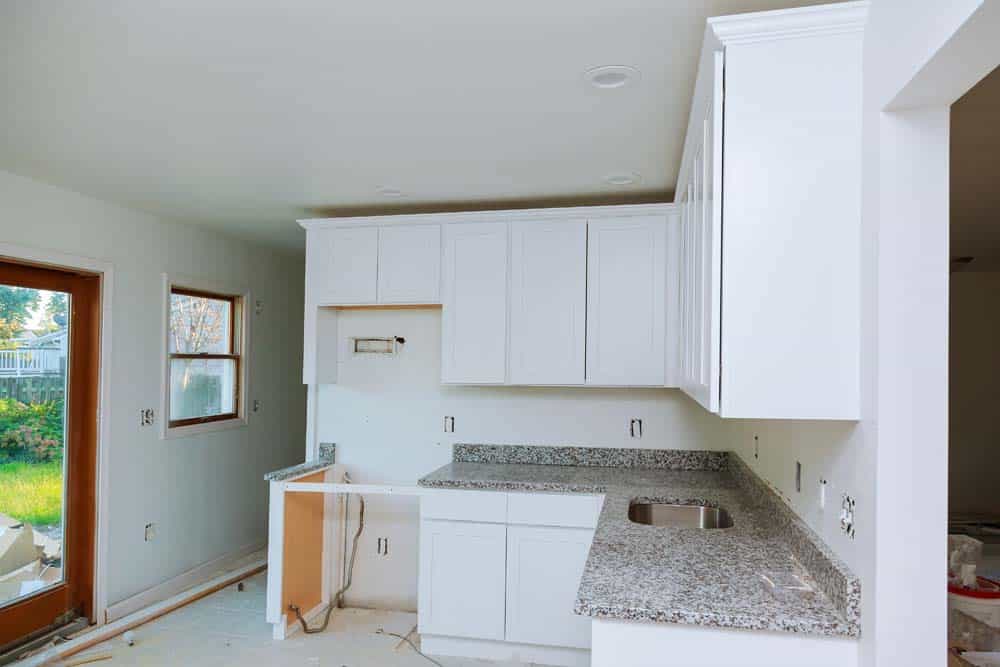
One of the most robust materials you can have in your kitchen is a granite countertop, with the stone’s attractive color giving your kitchen an adorable look.
When you feel like remodeling your home, granite countertops are highly recommended.
Due to its nature, kitchen countertops made from granite usually last a long time.
Removing them requires a lot of skills and strength, but, with an expert and necessary tools, it’s quite easy when the steps below are followed.
There may arrive a time when your cabinets or counters face huge damage and require removal and replacement.
You may remove them in one piece but it is still recommended to seek experts specifically from RSK Marble & Granite to help you easily and safely remove your granite countertops.
Tools Needed for Removing Granite Countertops
- Gloves
- Protective eyewear
- Wrench
- Bucket
- Chisel
- Putty knife
- Box cutter
- Screwdriver
- Caulk softener
- Pry bar
- Reciprocating saw (Only required for large or heavy countertops.)
Removal of Fixtures and Sinks
Steps
1.| The water valve regularly found beneath the faucet in the sink of your cabinet should be shut off.
The hot and cold valves should be shut off in the clockwise direction by hand till they stop.
The water lines just above the valves should be disengaged by rotating the nut counterclockwise on the line with a wrench or pliers.
2.| Trace the lines of disconnected water to the sink’s bottom. Twist the huge nuts for holding down counterclockwise with pliers to detach them. To remove, force the faucets up from the rim. Set aside the plumbing fixtures.
3.| Discover hold-down brackets in the cabinet around the base of the tub. Twist the nut in a counterclockwise direction at the bottom of each bracket to remove it.
Drag a knife under the sink’s rim, for sinks sitting on the granite. It helps break the caulk and glue.
To crack the seal, push the knife between the granite bottom and the sink’s top.
Gently press a rubber mallet on the bottom of the sink to lift it away. You can now lift out the sink.
4.| Observe your granite’s underside. When the stone is exposed, make a mental note of wherever the cabinets hit the stone’s bottom. Look for a layer of plywood under the granite.
Notice where the plywood or wood top meets the cabinets.
5.| Extract the screws from inside the cabinets from the plywood sheet under the granite countertop. Make use of a screw tip and drill.
Check for screws that run up into the bottom of the plywood through the top of the cabinet.
When you can’t find them, you need to break the seal connecting the granite and the plywood before you can extract the plywood.
6.| With a hammer, strike the end of your little, leveled pry bar at the top corner behind the backsplash’s edge, after few inches.
Lightly screw the backsplash from the wall, beginning from a corner over its length until the backsplash easily falls from the wall.
Do the same on all the backsplash you intend to remove which cover the countertop.

Removal of Granite Countertops
Steps
1.| It is necessary to remove from your operating area all countertop accessories and appliances before you begin.
Also, products and drawers should be emptied and contained in your bottom rack to prevent contamination of dust and provide uncomplicated access towards the countertop.
For protection, the utensils and cookware region should also be cleared
2.| Identify the connection in an area between the cabinet’s front brace and the bottom of your countertop.
Look inside the cabinet’s head to see it. With a hammer, hit the edge of the pry bar into the joint. Screw softly to release any glue.
If you find plywood underneath the granite, operate under it to detach or separate the granite from the plywood, if you could detach the screws keeping the wood base in place.
Tap a wooden shim into the already open joint to hold the countertop in that spot. Operate along the front side, screwing and shimming before slowly raising the whole front rim.
3.| Step further into the cabinets. Use the pry bar to raise the granite away from the cabinet supports’ top, beginning from the front and over to the back.
Insert shims as you proceed. Go lightly to avoid breaking the granite. Work along the countertop’s length, prying back only the next few centimeters.
Continue working in sections until the whole countertop is raised, from one end to another.
4.| Place on the front edge of the counter at least one human per 3 to 4 feet of countertop.
You and the available assistants need to work together to tilt the countertop slowly from the back edge for it to drop into their hands.
Gently lift and transfer the granite to your place of storage.
5.| As a precaution the granite should be set with the top facing down. When underneath there is plywood that needs to be replaced, pry it free from the granite carefully.
Operate lightly to detach the seal and extract the plywood. Pull some extra plywood or paint with a sturdy scraper from the base of the granite.
Conclusion
Removing a granite countertop is not as easy as removing a laminate countertop since laminate countertops are the lightest of materials.
You might want to save cost by attempting to remove it yourself but if you haven’t tried removing it once, call an expert.
One of the core reasons why you need to call an expert as a first-timer is because removing sections of countertop requires major upper arm force.
Another is the possibility of breaking the granite if you are not an expert at handling the removal process.
You might have knowledge about removing countertops but feel reluctant lifting, bending or twisting heavy items; avoid sore muscles and potential damage by requesting an expert from RSK Marble & Granite.